


Hey everyone, been a while since I’ve posted, and really my hobby progress has largely been consumed since last Christmas with a Horus Heresy Mechanicum army I’ve been assembling and painting like mad. When I went to LVO 2016, I wanted to see all the great 30k armies and it really helped keep me motivated to get my Mechanicum army ready for next year’s LVO. Part of that force is going to be 2 Krios Venator tanks – I love these models. But not going to lie – those models are super tricky to assemble. Check out my tutorial inside to see how these pieces go together – its important to assemble in the right order, and I hope through my trial and error, others can learn how to assemble these bad boys with less struggle.
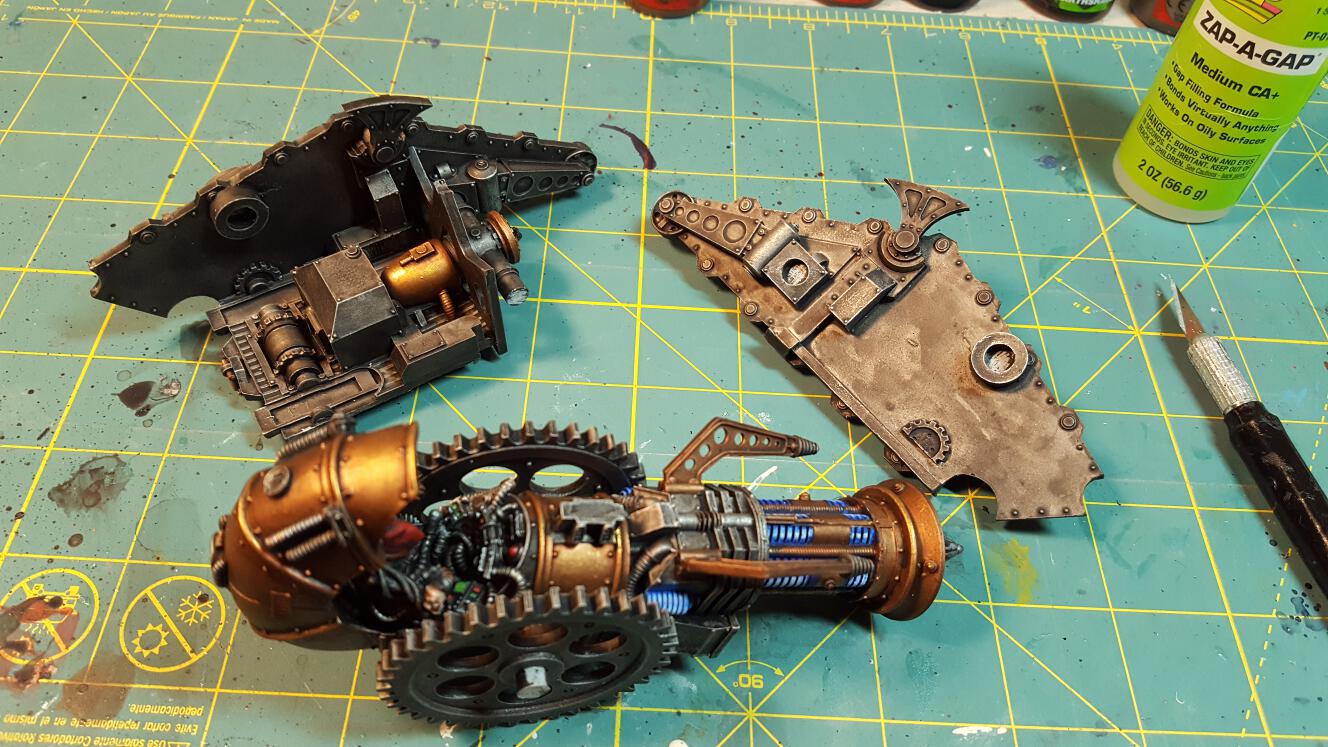
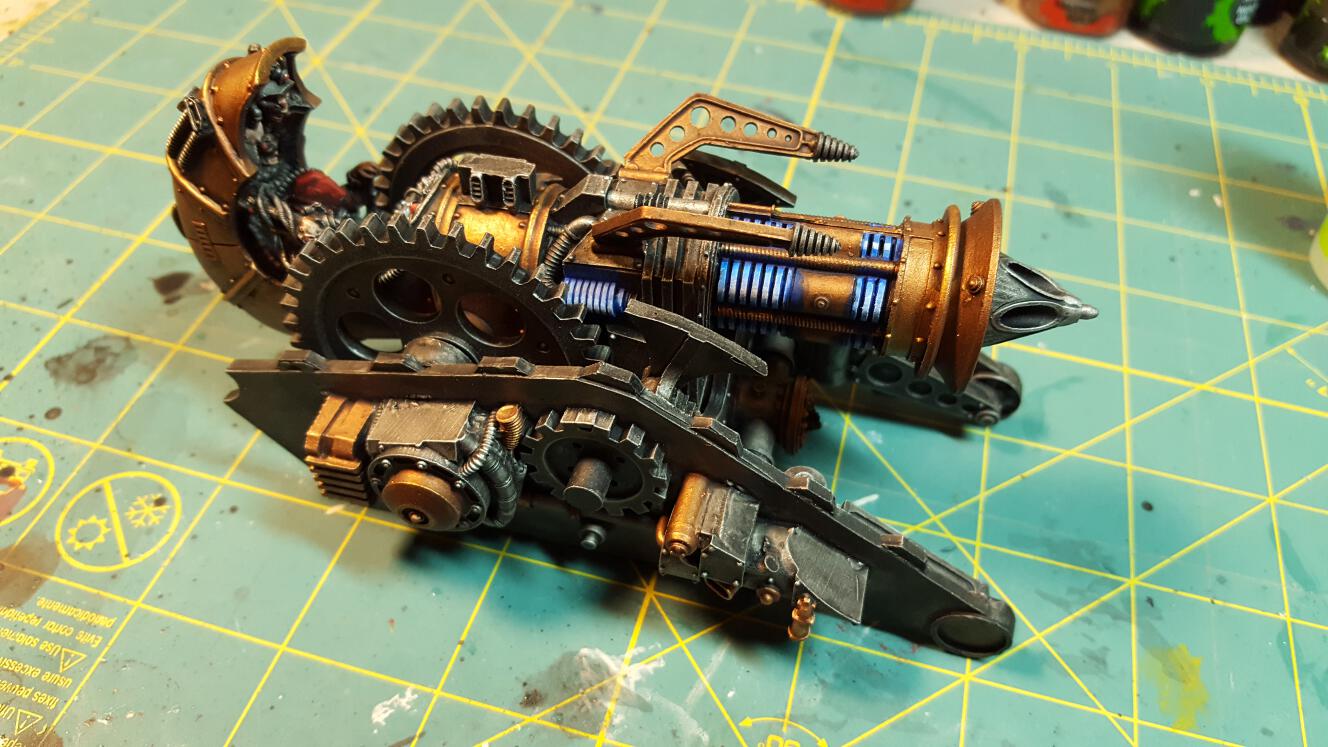
First thing to note on this model is that it is way easier to make sub-assemblies and paint the pieces individually and then assemble them. There are so many hard-to-reach areas with a brush or even an airbrush that you’re really going to do this incredible model a disservice if you assemble first then try to paint – you’re just not going to be able to get into all the hard to reach areas and get all that (highly visible) detail that will show through the tanks’ highly open design.
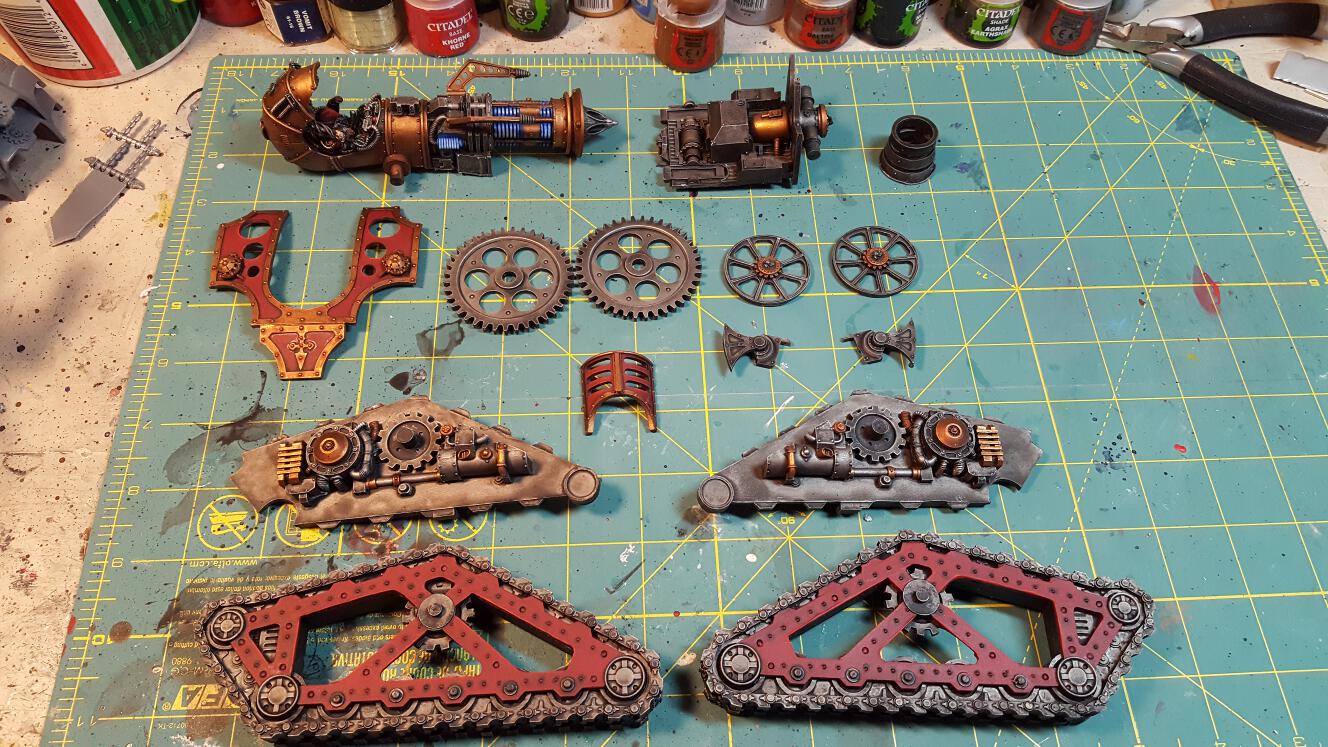
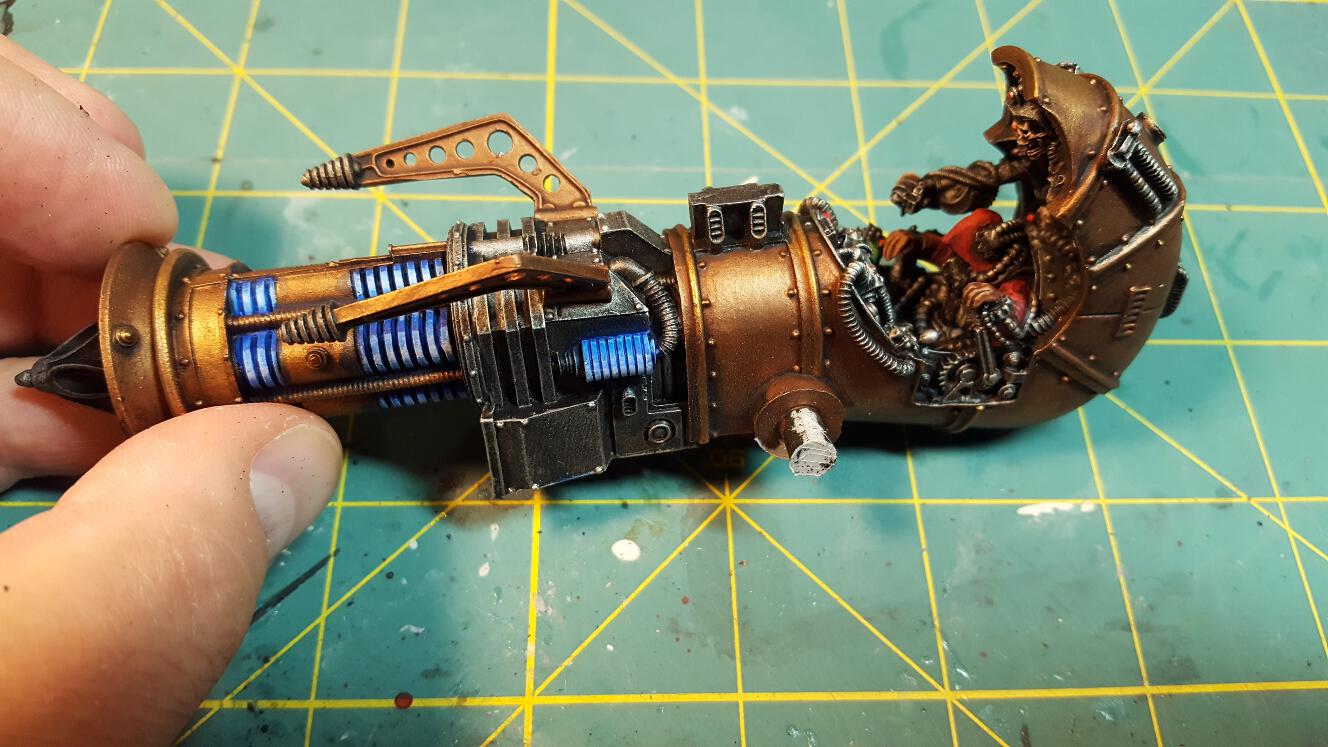
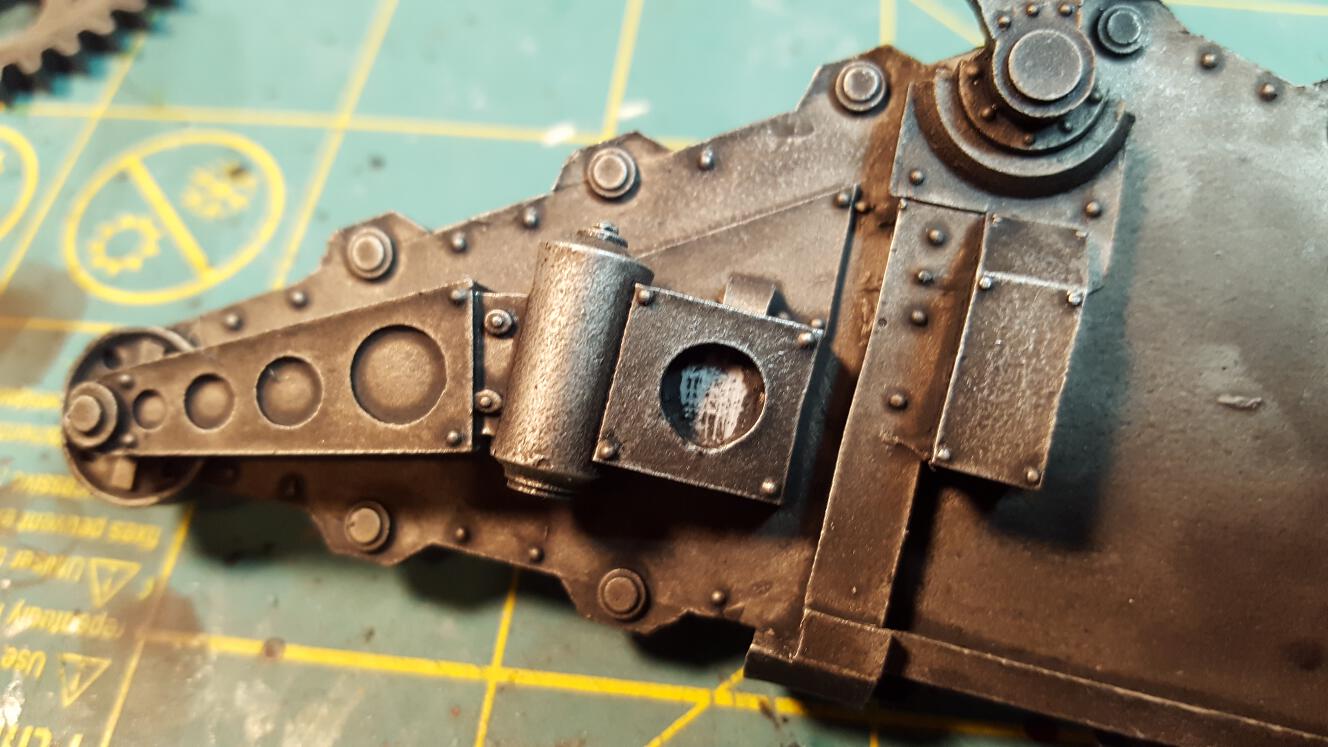
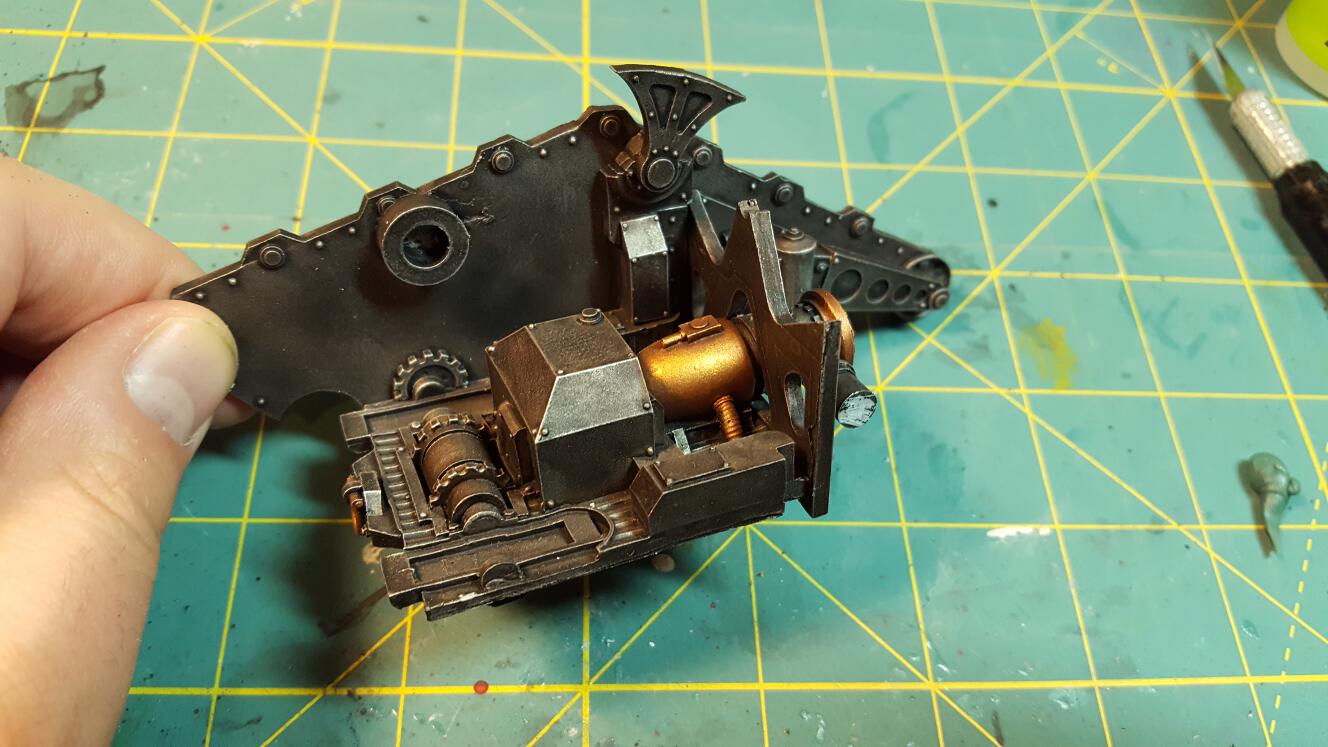
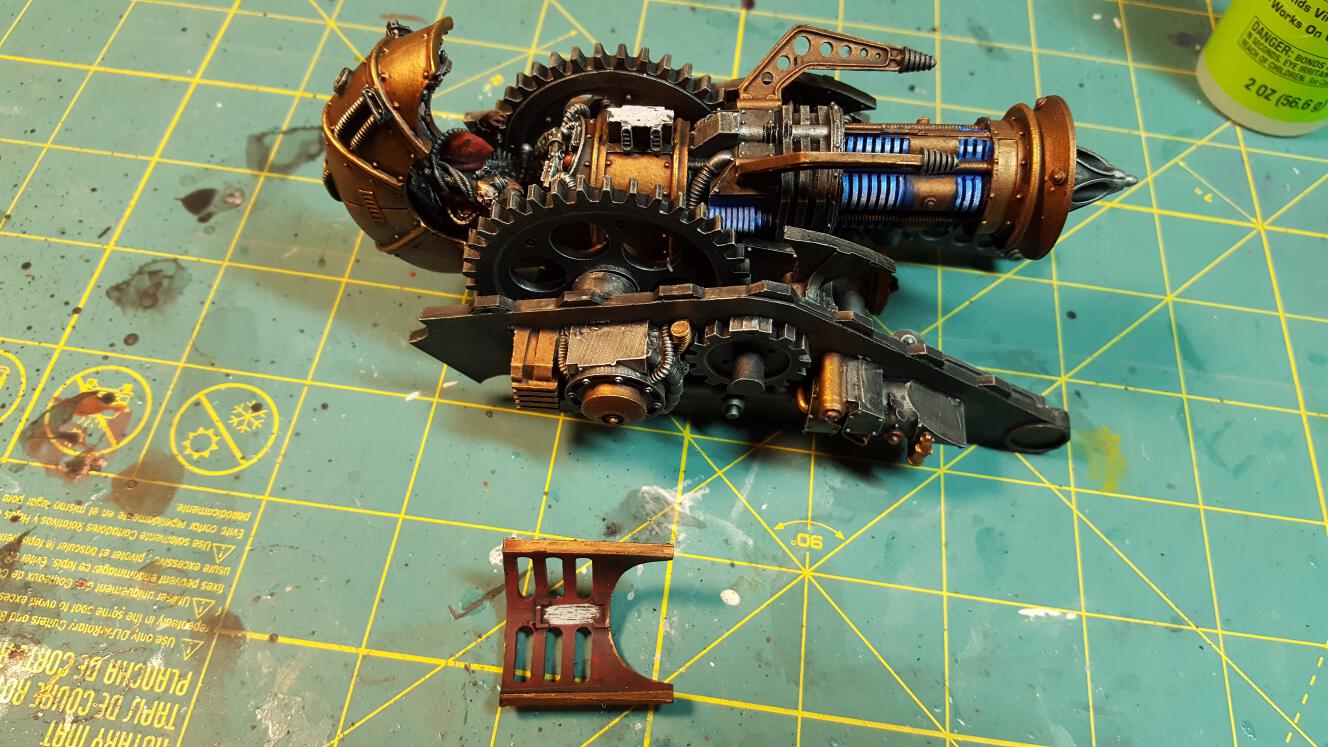
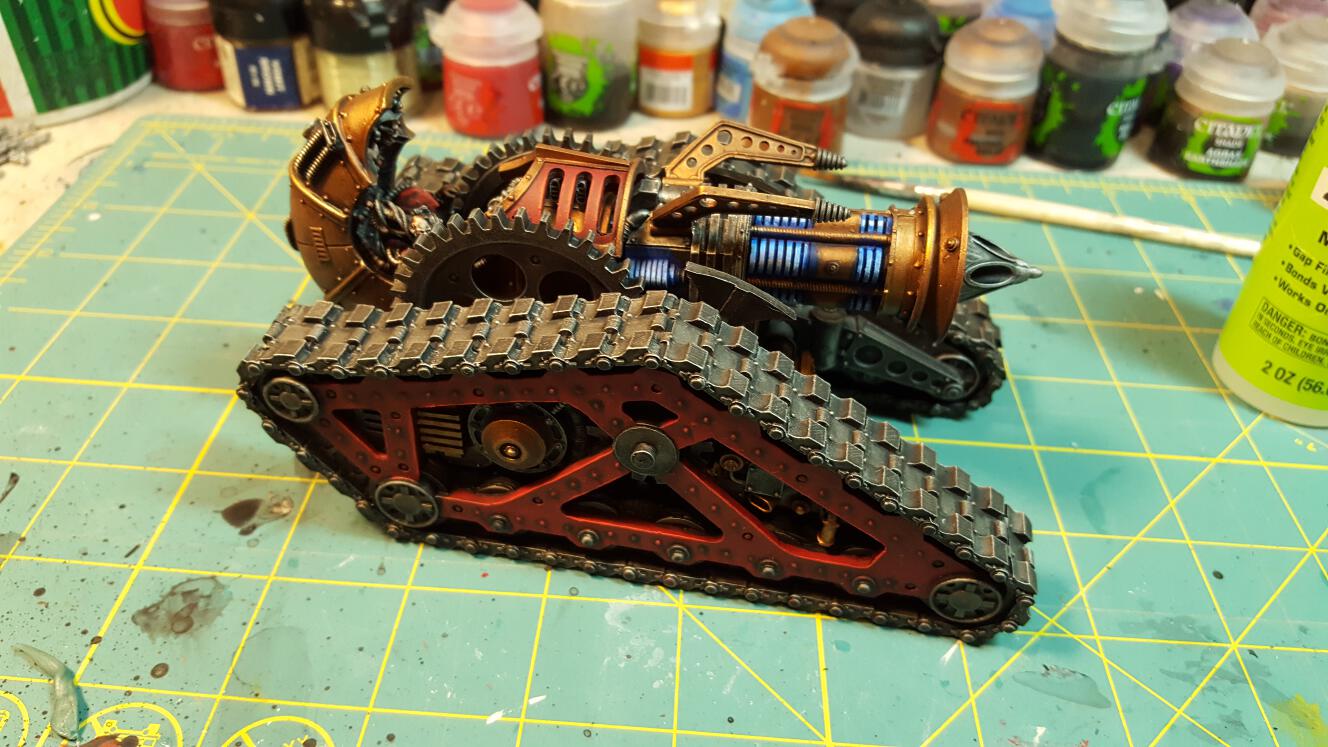
So that in mind, it’s a good idea to assemble the base pieces of the model that include the base, transaxle shield, and forward transaxle. you can also assemble the targeting servo skull and the arm and body into the main chassis of the tank. These are the two assemblies you see at the top left corner of this picture. The rest of the pieces honestly should be painted separately. The picture above is the final, painted product of one of my Krios Venators, all sub-assemblies assembled, fully painted and sealed with clear coat. Now the work to do the final assembly begins.
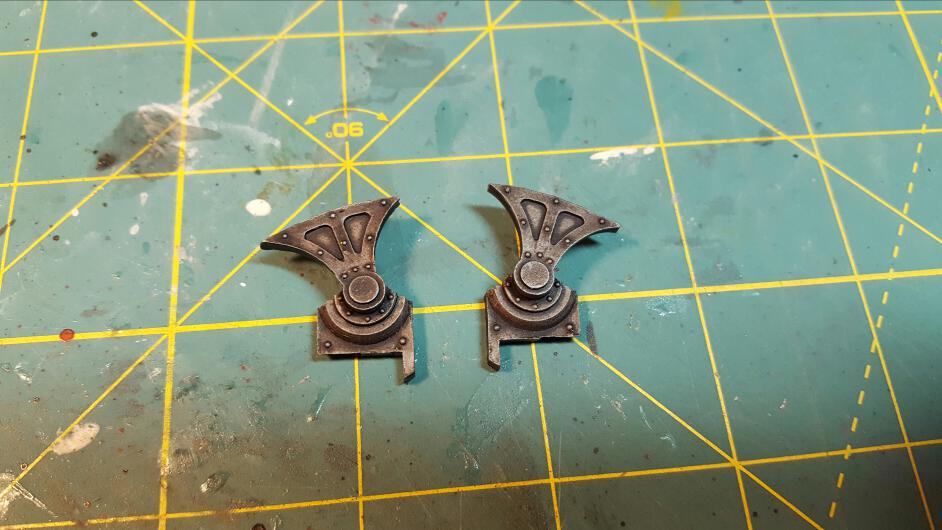
Next, pick out these two parts. These are the forward armor / shield struts. You absolutely need to assemble these onto the track parts first, as if you wait, you’ll never be able to get these guys in the right place.
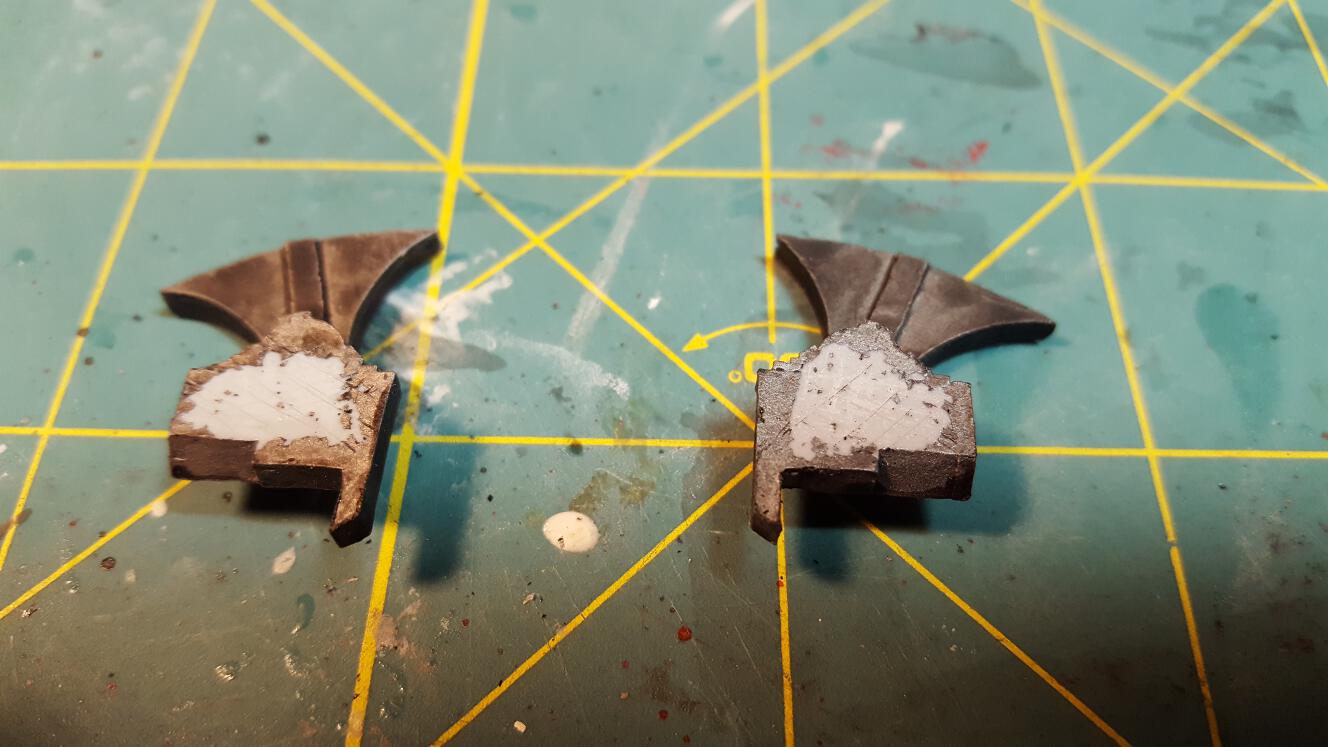
Flip these bad boys around and then scrape off the paint on the backs and score the resin where you scraped. The scoring will help create a stronger bond with your gap-filling cement between the two parts. It’s important to scrape off the paint before you glue, for where the two parts will join, as if you try to superglue two pieces from a painted surface the glue bond will not hold well and will come part rather quickly.

Now take each inner track piece and scrape/score right where you see this piece scraped. This is where that sheild support strut will go. It took me a while to figure out how this part goes on there.

Do the same with the opposite inner track part.

Glue those support struts in there like this. The “hook” goes on towards the back, and the curvature of the shield support curves down towards the front. Put your gap filling superglue on one part and press and hold – the two parts that you scraped and scored should be facing each other when you glue.

From the rear angle.

From the front angle.

Do the same for the other side of the inner track.
Another angle.
From the head-on angle.

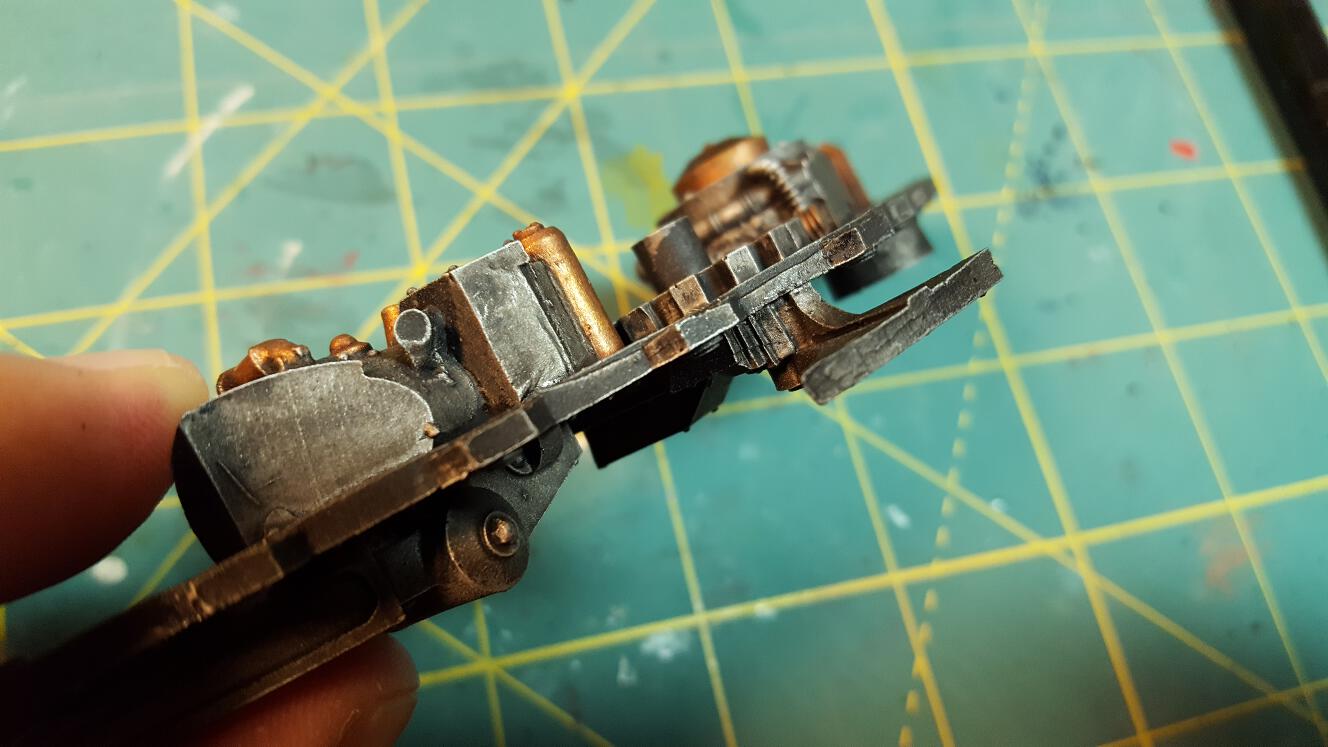
Ok now you have the shield struts on, let’s move on and focus on other parts of the model. Next we’re going to focus on the cockpit / gun mount / main hull [part. There are two very large gears that straddle the cockpit of the tank. Scrape/score where you see this part scraped, on the inside of thew hole in the middle of the wheel – this will go over the large pins on the side of the main hull. Do this for both large gears.
Now, grab the main hull, and scrape/score on both sides of the posts.
A close-up of my scraping/scoring on this part.
Now, glue those large gears on either side of the main hull, like this. Let this completely dry.

Go back to each of the inner track pieces and scrape and score inside the holes on the top edge – these are where the main hull posts will eventually go. Also, see those bars at the very bottom of the inner track? Scrape and score along the top edge of those (you can see where I did in this photo), as well as the vertical edge going up towards that block that is supporting the shield strut. This is where the lower hull will bind to the inner track pieces. Also scrape and score the sides of the edges for the lower hull assembly (not shown) so you have a resin-to-resin contact point between the lower chassis and the inner tracks.
Also scrape and score this area on the forward hull – this is where the forward transaxle will go from the lower hull assembly.
If you scraped and scored in the right paces on the lower hull and the inner track pieces, you should be good to go to start the gluing of the lower hull and inner track pieces. Pick one of the inner track pieces and the lower hull and glue together – they should go together something like this. Let dry thoroughly.

Another view of this. Sometimes, the parts don’t fit together perfectly. I will share a little secret I’ve learned. If you don’t get great contact or if you want to really strengthen a bond, put a little dab of green stuff in the join as you glue. Put down some glue, drop a dot of green stuff on the glue, then add more glue on top, then press the pieces together. This really holds it together and makes an incredibly strong bond. Pro tip!
Ok, now you have 3 assemblies that are ready to put together, and should look something like this. Now you’re ready for the big show – this is the tricky part. All the connecting points should be scraped and scored, and you have to do some gymnastics to get these 3 parts glued together at the same time. You have to do these all at once or else the connection points won’t line up and you’ll get into a position where you won’t be able to get them together. So dry fit like 2 or 3 times to get your game plan on, and when you’re ready, get your glue on all the scraped places and use green stuff trick (above) if you need to and glue these guys together.
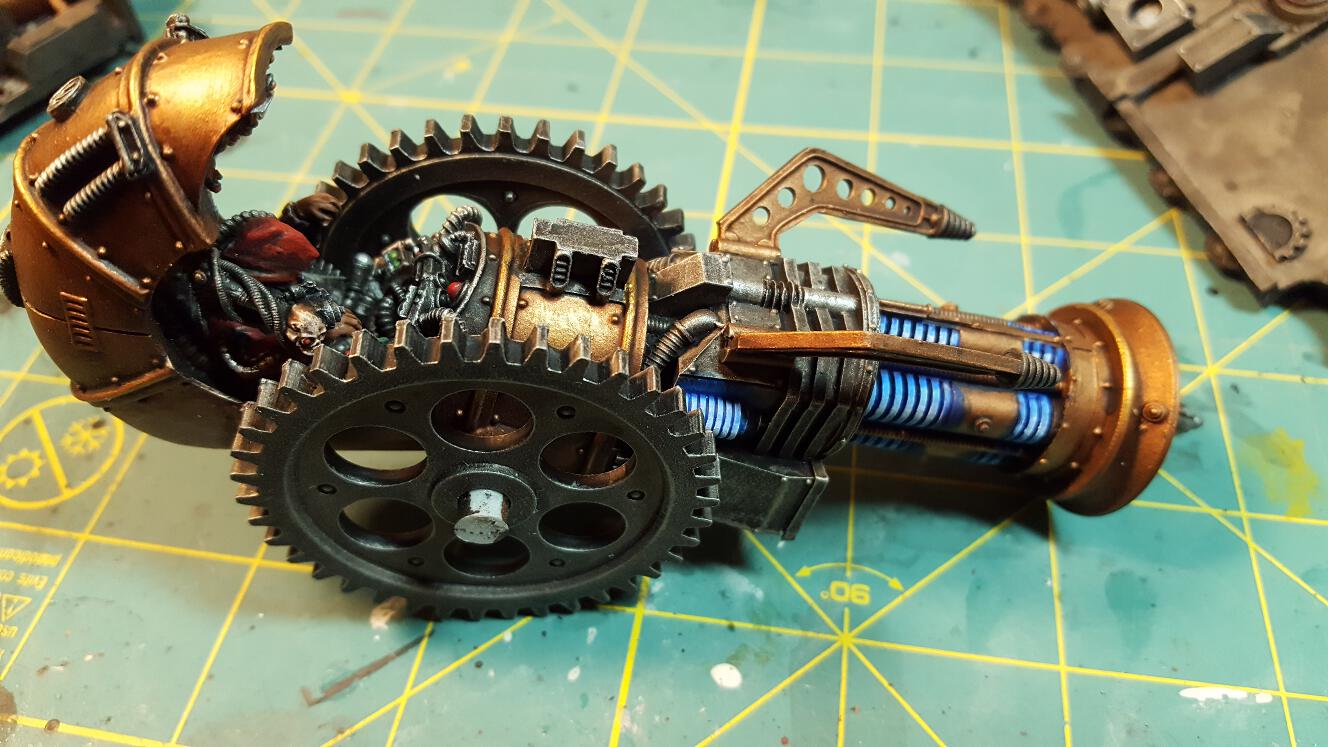
With some skill and a bit of luck your tank will now look like this after that last step. It’s starting to look like a Krios tank!
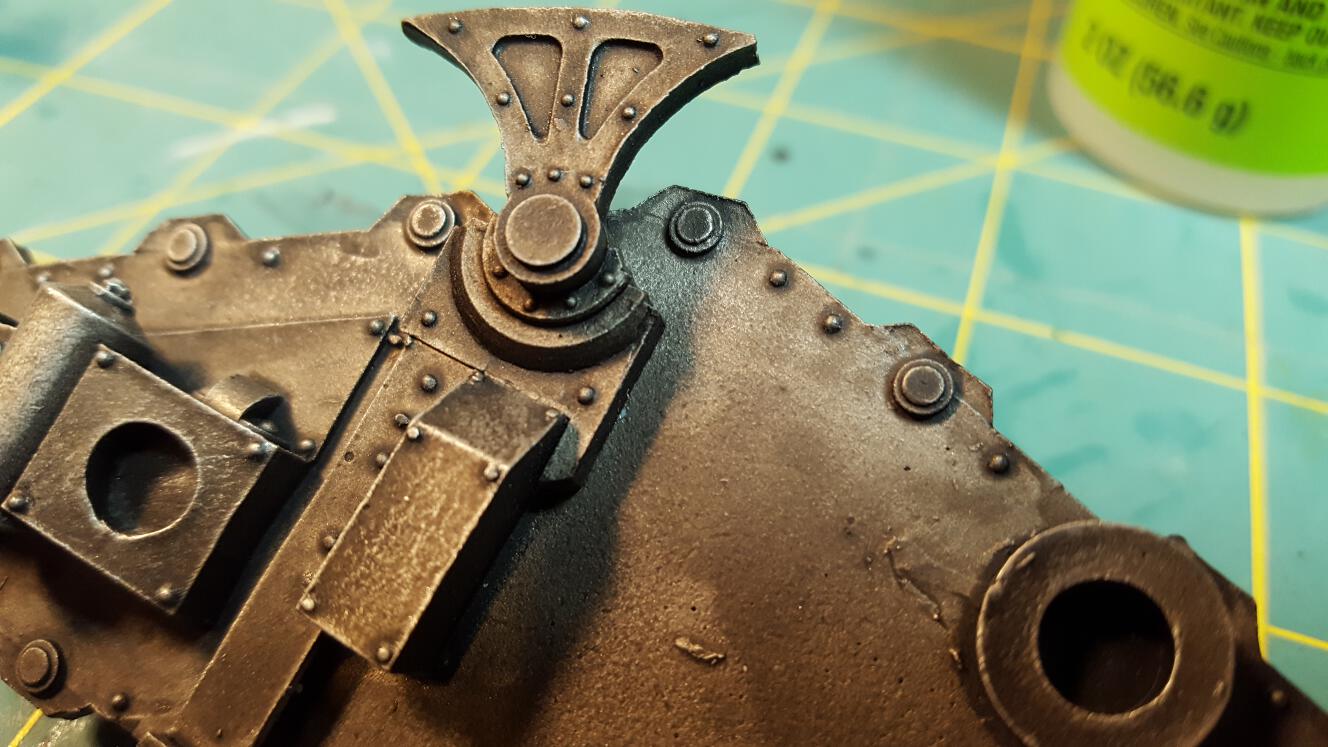
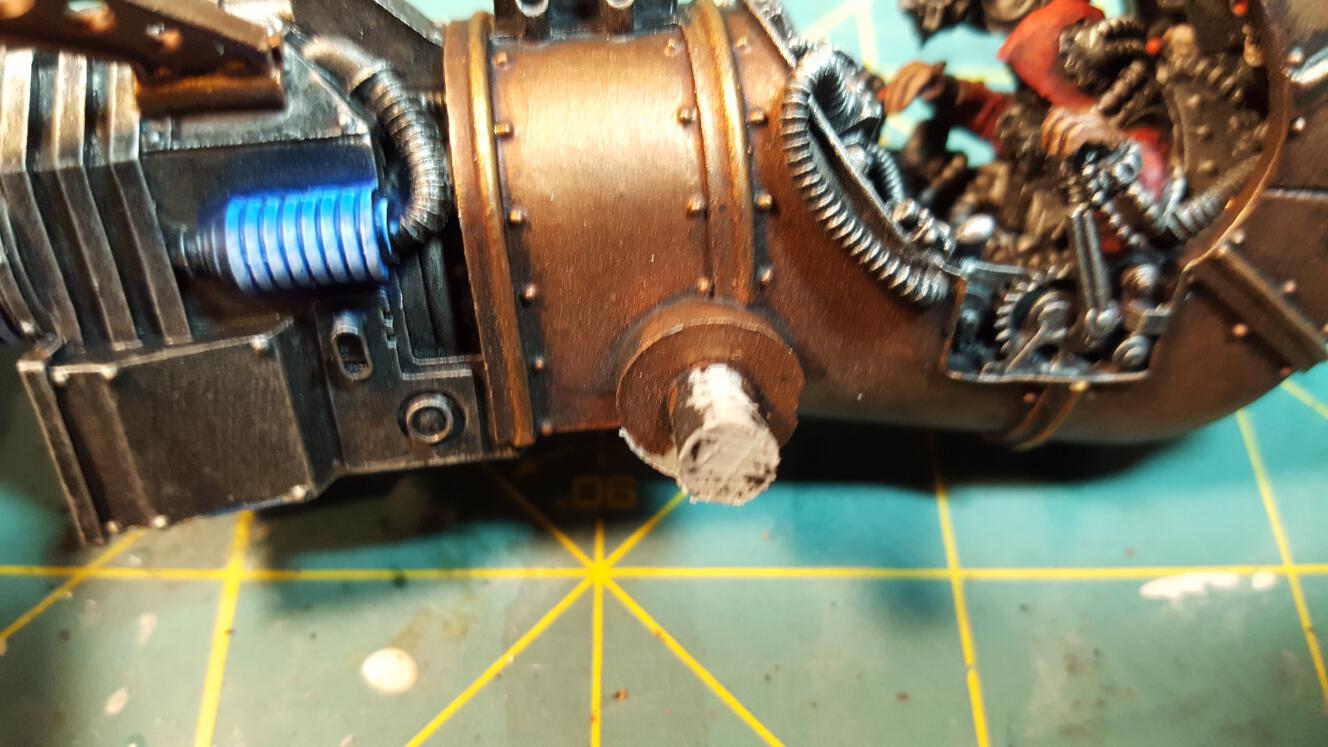
Next step is to put the top engine cowl part on. Scrape/score where the box is on the underside of the engine cowl. Also scrape/score the post it will sit on, located on the top of the main hull.

This is how the engine cowl looks glued on.

Top view, before the cowl is glued on.

Ok, time to get the treads on. Scrape/score on the inner track parts, inside the concave rounded areas, like pictured above. This is where the inner wheels on the outer track will connect to the tank.
Similarly, scrape on the inside of the upper concave circle where the outer track will touch.
Scrape and score on the front circle of the inner track – the outer track will make a solid connection point here as well.

Turn your attention to the outer tracks now and scrape/score in the places where they will connect to the inner track.
Same for the front of the outer track – scrape and score this area – this part will connect solidly with the front point of the inner track.
You know the drill – once you’ve scraped and scored, apply glue and press into place! Make sure you dry fit before you do gluing – these parts don’t always fit perfectly and you may need to trim pieces down to fit.

Now move onto the laser barrel cowling. No scraping here – too much chance for error to over-scrape and lose all that hard painting work you did. Instead – let’s pin it. Put some small pins in the top and bottom of the inside of the ring, above the big notches on the sides, like above.
Once you put pins in the laser barrel cowling, drill the dish on the front, pin, and glue. You’ll now be all set with your laser barrel! Also, take this moment to scrape/score and glue the outer wheels on the outside of the tracks – same process as above.


The end is in sight! Now we need to scrape/score the front armor plate. The areas blocked off in the rectangles on the underside is where it mates with the shield struts. Scrape & score these areas as shown above.
Do the same with the shield strut tops that are exposed.

Now this part can be really tricky too. Getting this armor plate in place so that it looks correct and “fits” under the laser barrel but yet still lays onto the sheild struts is a real pain. Neither of mine did, and I had to use a hair dryer on low to heat the resin and gently bend it in shape to fit correctly. But with plenty of patience and small changes to the sizing, if required, and you’ll get there. Dry fit repeatedly to make sure you’ve got it correct, if you do need to heat and reshape. Then glue where you scraped & scored and let dry.

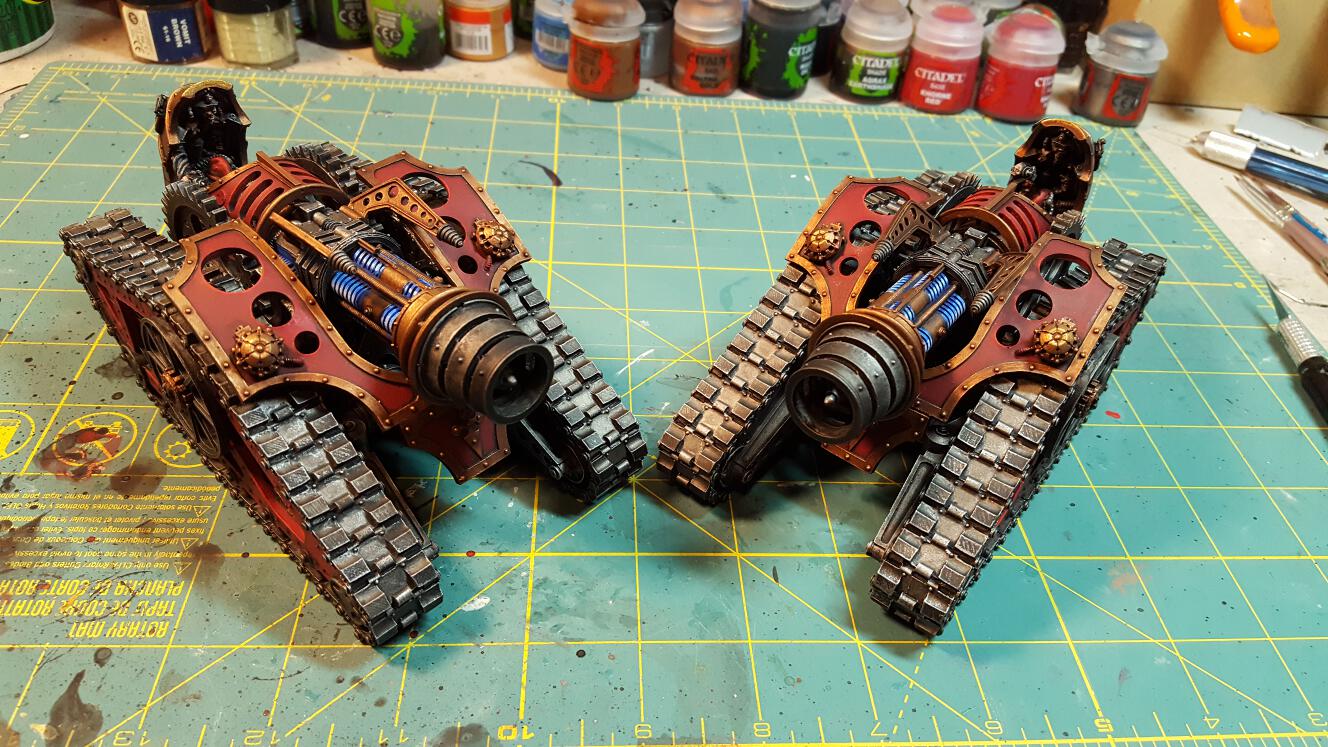
If you follow these steps you will have a beautifully painted and well assembled Krios tank (I assume this works with a Krios battle tank too, though I don’t own one).

Some more glamour shots of my tanks.

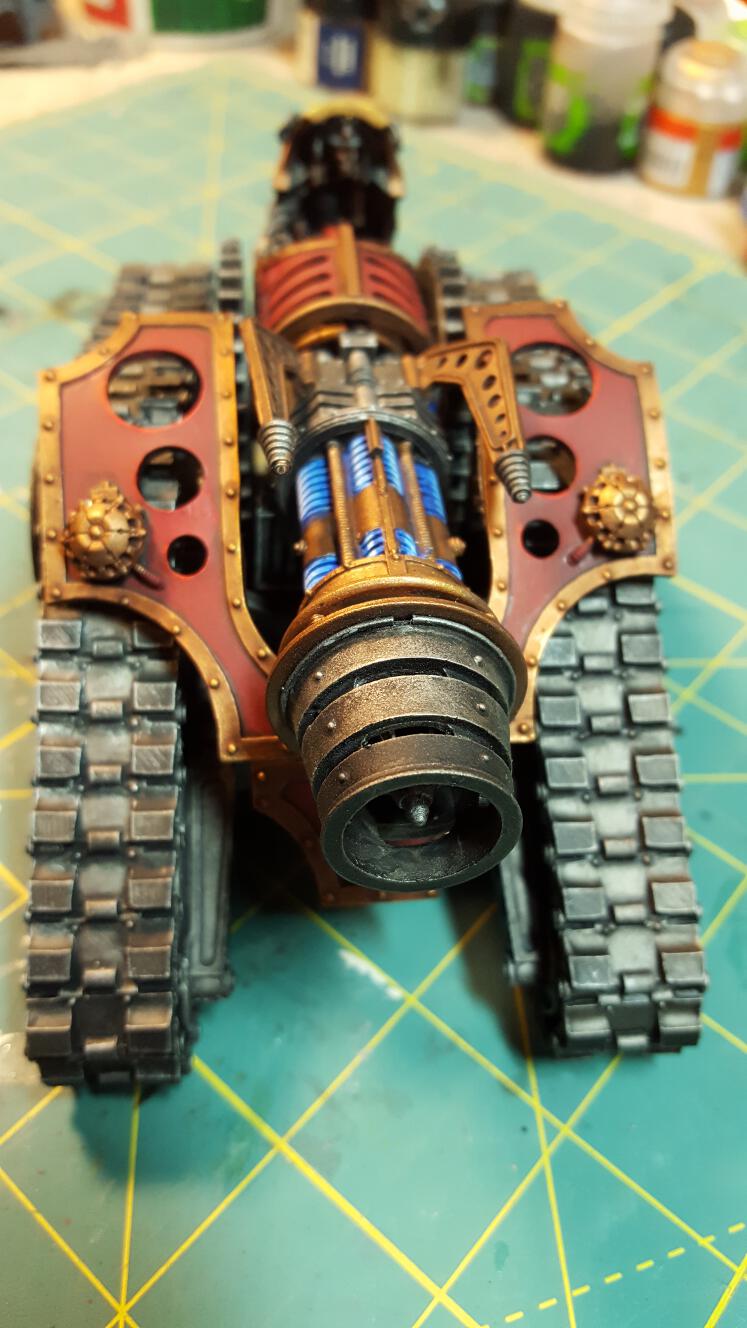
And there you have it! I hope this tutorial was helpful and gave you some insight on how to assemble this beautiful if not inscrutable tank. Its such a nice model, it really warrants you taking your time and getting it right – good luck and comment here on your thoughts on whether this was helpful! Thanks for looking!

